







How to Screenshot on Windows Taking a screen shot is one of the simplest ways to capture and share information displayed on your computer screen. Whether you want to save an error message, record an online receipt, capture a gaming moment, or explain a process to someone, Windows provides several built-in screenshot tools.
If you are wondering how to screenshot on Windows, the best method depends on what you want to capture. You can take a picture of the entire screen, a single window, or a selected area. Windows also allows you to copy screenshots temporarily or save them automatically as image files.
Quick Information
| Information | Details | Information | Details |
|---|---|---|---|
| Main Topic | How to Screenshot on Windows | Supported Systems | Windows 10 and Windows 11 |
| Full-Screen Shortcut | Windows + PrtScn | Selected-Area Shortcut | Windows + Shift + S |
| Active Window Shortcut | Alt + PrtScn | Gaming Screenshot | Windows + Alt + PrtScn |
| Built-In Application | Snipping Tool | Default Image Format | PNG |
| Screenshot Folder | Pictures > Screenshots | Gaming Capture Folder | Videos > Captures |
| Clipboard Paste Shortcut | Ctrl + V | Best Overall Method | Windows + Shift + S |
1. Use the Print Screen Key to Capture the Entire Screen
The traditional method is to use the Print Screen key on your keyboard. It may appear as:
- PrtSc
- PrtScn
- Print Scr
- PrntScrn
Pressing the PrtScn key captures everything currently visible on your screen. However, the image is normally copied to the Windows clipboard instead of being saved automatically.
To save it:
- Press the PrtScn key.
- Open Paint, Microsoft Word, an email, or another image-compatible application.
- Press Ctrl + V to paste the screenshot.
- Edit or crop the image if necessary.
- Select Save As and choose PNG, JPEG, or another format.
This method is helpful when you want to capture the complete screen and quickly paste it into another application.
If you use multiple monitors, the Print Screen key may capture all connected displays in one large image.
2. Save a Full-Screen Screenshot Automatically
If you do not want to open Paint and paste the image manually, Windows offers a shortcut that automatically saves the screen shot.
Press:
Windows key + PrtScn
Your screen may briefly dim, indicating that the screen shot has been captured. Windows saves the image as a PNG file.
You can usually find it in:
Pictures > Screenshots
This is one of the fastest options when learning how to screenshot on Windows because the image is captured and stored immediately.
On some laptops, you may need to press:
Windows key + Fn + PrtScn
The exact combination depends on the laptop manufacturer and keyboard layout.
3. Use Windows + Shift + S for a Selected Area
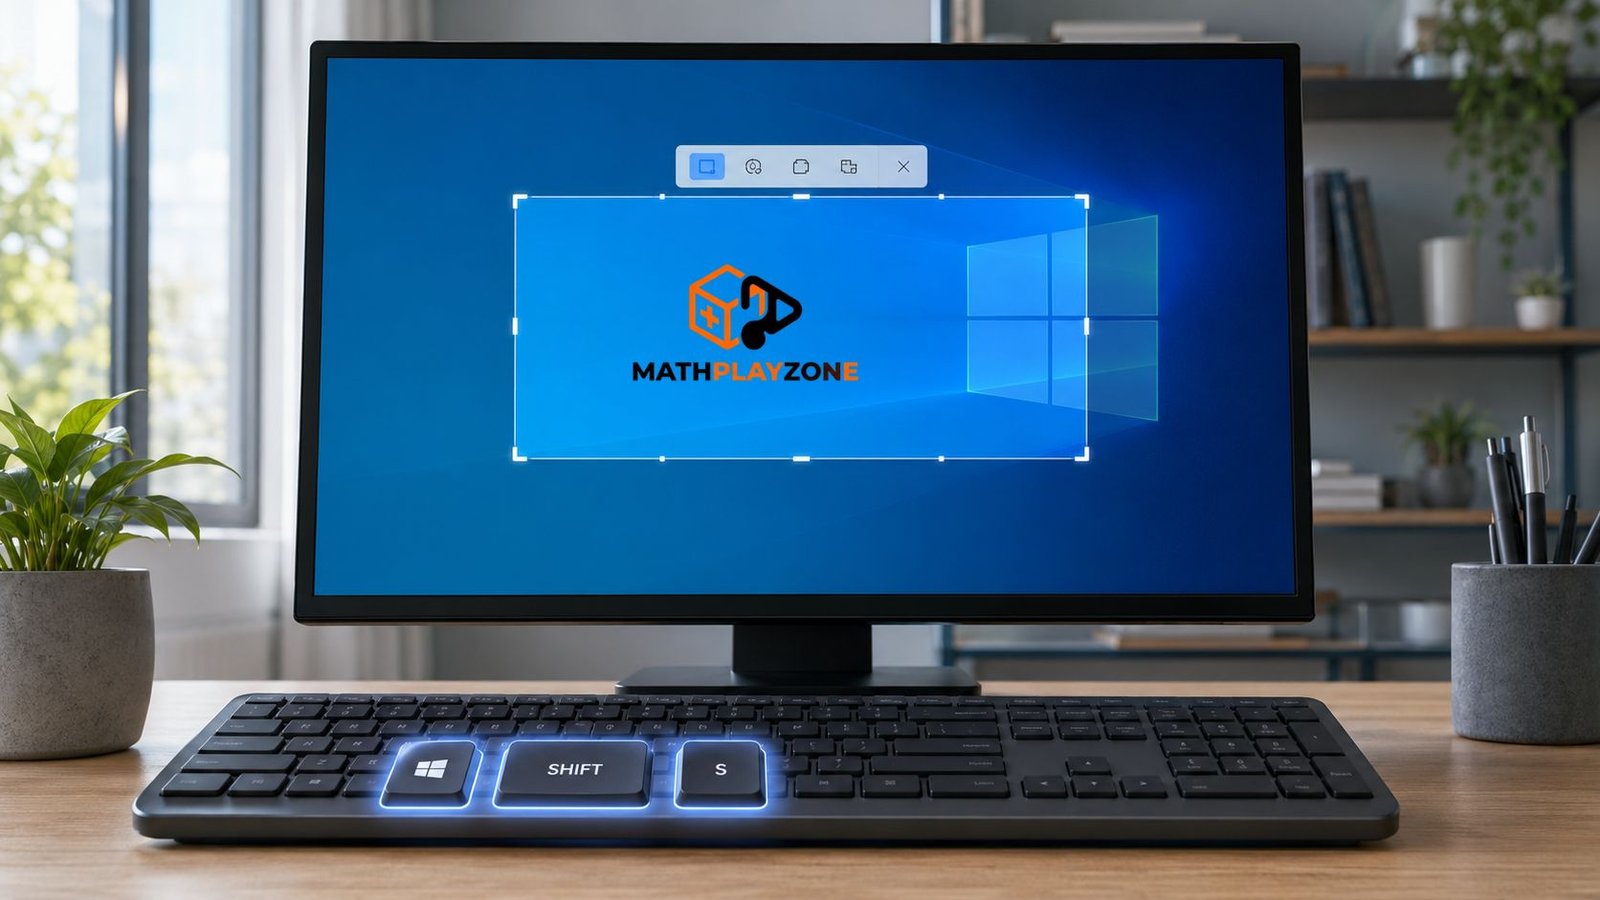
The Windows + Shift + S shortcut is one of the most useful screenshot methods in Windows 10 and Windows 11. It opens the screen-capture interface and lets you choose exactly what you want to capture.
Press:
Windows key + Shift + S
The screen will darken slightly, and a small toolbar will appear. You can select from several options:
Rectangular Snip
Drag the cursor around a rectangular section of the screen. This is ideal for capturing an image, paragraph, product, menu, or specific part of a webpage.
Freeform Snip
Draw a custom shape around the area you want to capture. This option is useful when the content does not fit neatly inside a rectangle.
Window Snip
Select a particular open window, such as a browser, folder, or software program. Windows captures only that application window.
Full-Screen Snip
Capture the complete screen, including the taskbar and all visible applications.
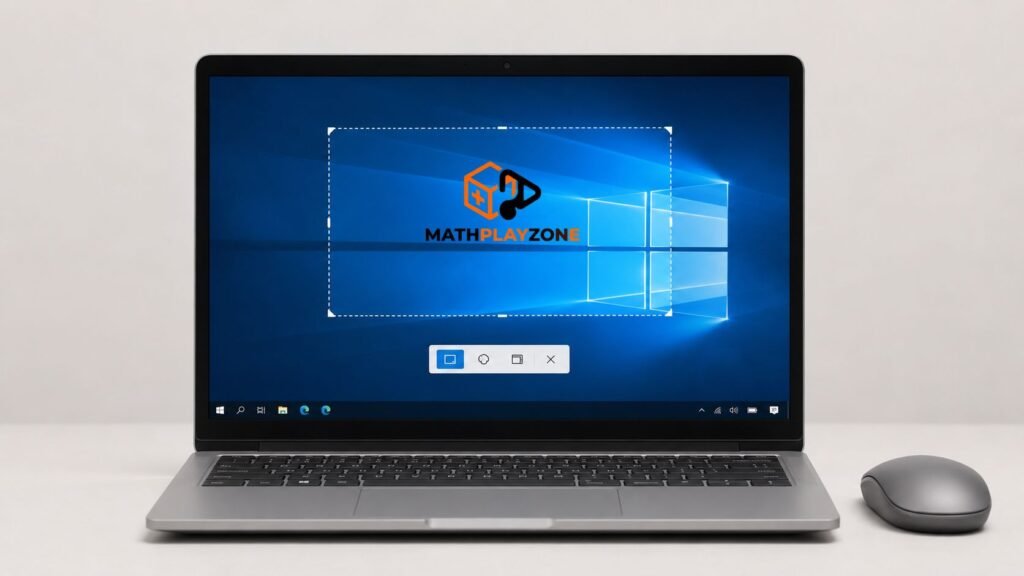
After capturing the screen shot, it is copied to the clipboard. A notification may also appear. Select that notification to open the image in the Snipping Tool, where you can crop, highlight, annotate, copy, or save it.
4. Take a Screen shot with the Snipping Tool
The Snipping Tool is the main built-in screen shot application in modern versions of Windows. It provides more control than the standard Print Screen method.
To open it:
- Open the Start menu.
- Search for Snipping Tool.
- Select the application.
- Click New.
- Choose the area you want to capture.
Depending on your Windows version, the tool may provide rectangular, freeform, window, and full-screen capture modes.
The Snipping Tool also includes simple editing features. You can draw on the image, highlight important information, crop unwanted areas, or copy the screenshot into another application.
It also offers a delay option. This lets you wait a few seconds before the screen shot is taken. A delayed capture can be particularly useful when you need to open a menu, tooltip, or drop-down list that disappears when you click elsewhere.
After editing, select the save icon and choose a location for the image.
5. Capture Only the Active Window
Sometimes you may have several programs open but only want to capture the application you are currently using.
Press:
Alt + PrtScn
This shortcut captures only the active window and copies it to the clipboard. You can then paste it into Paint, Word, an email, or a messaging application by pressing Ctrl + V.
For example, if you have a browser, calculator, and folder open, but the browser is active, the shortcut will capture only the browser window.
This method produces a cleaner screenshot because it avoids showing your desktop, taskbar, or other open applications.
6. Take Screenshots While Gaming
Windows includes the Xbox Game Bar, which can take screenshots while you are playing a game or using a supported application.
Press:
Windows key + Alt + PrtScn
The screenshot is generally saved automatically in:
Videos > Captures
You can also open the Xbox Game Bar by pressing:
Windows key + G
Once it opens, find the Capture panel and select the camera icon. This feature is convenient for saving gameplay moments, achievements, menus, or technical problems that occur during a game.
However, Game Bar capture may not work on every part of the Windows interface, such as File Explorer or the desktop. The Snipping Tool is a better option for general screen captures.
7. How to Screenshot on a Windows Laptop
Taking a screenshot on a laptop is similar to doing it on a desktop computer, but compact laptop keyboards sometimes assign several functions to the same key.
Try one of these combinations:
- PrtScn
- Fn + PrtScn
- Windows key + PrtScn
- Windows key + Fn + PrtScn
- Alt + PrtScn
- Windows key + Shift + S
If pressing Print Screen does not work, check whether the key has a secondary function. You may need to hold the Fn key while pressing it.
The Windows + Shift + S shortcut is often the most reliable option because it works across many Windows laptops without requiring you to identify the correct Print Screen behavior.
8. Where Are Windows Screenshots Saved?
The screenshot location depends on the method used.
- PrtScn: Copied to the clipboard and not automatically saved.
- Alt + PrtScn: Captures the active window and copies it to the clipboard.
- Windows + Shift + S: Usually copies the screenshot to the clipboard and opens a notification for editing or saving.
- Windows + PrtScn: Usually saves the image in the Pictures > Screen shots folder.
- Windows + Alt + PrtScn: Usually saves gaming captures in Videos > Captures.
- Snipping Tool: Allows you to select the save location.
If you cannot find a screenshot, open File Explorer and search for recently created PNG files. You can also check the Screen shots and Captures folders.
9. How to Paste a Screenshot
Screenshots copied to the clipboard must be pasted before you restart the computer or copy something else.
Open a compatible application and press:
Ctrl + V
You can paste a screenshot into:
- Microsoft Paint
- Microsoft Word
- PowerPoint
- Email messages
- Chat applications
- Image editors
- Online document editors
If you want to save the pasted image separately, Paint is usually the easiest option. Paste the screenshot, make any necessary adjustments, and save it as a PNG or JPEG file.
10. Tips for Taking Better Screenshots
Before capturing your screen, close or hide unnecessary applications. This makes the screenshot look cleaner and protects private information.
Check the screen carefully for personal details, including email addresses, passwords, account numbers, browser tabs, notifications, and private messages. Crop or blur sensitive information before sharing the image.
Use PNG format when the screenshot contains text, menus, or interface elements because PNG usually keeps these details sharp. JPEG may be suitable for photographs or images where a smaller file size is more important.
It is also helpful to rename screenshot files. A descriptive name such as “payment-confirmation-july-2026.png” is easier to find than a generic filename.
Common Screenshot Problems and Solutions
If the Print Screen key does not respond, try holding the Fn key. You should also test the Windows + Shift + S shortcut.
If a screenshot is not saved, it may only have been copied to the clipboard. Open Paint and press Ctrl + V to check.
If the screen turns black in a screenshot, the application may restrict screen capture. This can happen with protected video content, security software, or certain private applications.
If the Snipping Tool is not working, close and reopen it. You can also restart the computer or check for Windows updates.
Press Windows + Shift + S. It lets you capture the entire screen, an application window, or a selected area.
Press Windows + PrtScn. The screenshot is normally saved in the Pictures > Screenshots folder.
Select the window and press Alt + PrtScn. The image will be copied to the clipboard.
Final Thoughts
Learning how to screenshot on Windows is easy once you know the correct keyboard shortcuts. Use Windows + Shift + S when you need to capture a selected area, Windows + PrtScn when you want to save the entire screen automatically, and Alt + PrtScn when you only need the active window.
For additional editing, delayed captures, and precise selections, the Snipping Tool is the most versatile choice. These built-in methods work well for everyday communication, troubleshooting, work, gaming, and saving important information.